Tuesday 17 December 2013

On learning from our mistakes

I've been sewing for thirty odd years and I'm sure you'll believe me when I say I've made plenty of mistakes. We're supposed to learn from our mistakes, right? But there are a couple of mistakes that I just never seem to learn from, no matter how often I make them.

Like, my sewing machine is not telepathic. I mean, every time I need to switch from straight stitch to zig-zag, it surprises me that my machine doesn't realise this, and I actually have to stop and change the the stitch settings. Happens every time!

Another thing I have yet to to learn, it seems, is that it is a whole lot easier to unpick one row if stitching than a seam that has been stitched, overcast and top stitched. So it is better to check that everything is going as it should before doing all that stitching. Since I haven't yet learnt this, I spent half the day unpicking nearly all the sewing that I did on my last day off.


I've been working on a tiered skirt for Miss Missy. I'm making it up as I go along. Last week, I actually had it almost finished, I just had to do the hem and the waist band. But the more I looked at it, the more I thought that I'd gotten the proportions wrong. Not only had I skimped on the fabric for the second tier, so it was barely gathered, but I'd made it too long too. I spent half the week telling myself that it didn't look that bad, and the other half of the week trying to figure out away to fix it without unpicking everything.  

In the end, I bought a little bit more fabric (actually, that's another lesson, I don't seem to have learnt yet) unpicked the whole thing, and I'm much happier with the way it looks now.

It's going to be one of Miss Missy's presents, so I'll share a photo of it after Christmas, when I can get her to model it.


Tuesday 2 July 2013

A Quilt for the Young Lad ~ Part 2

You can read Part 1 here (yes, I know it's been a long time...I've been busy, OK?)


One of the things I love about quilting is the serendipitous way that things just seem to work out right, as if the fabric has it's own plans, and it knows better than me how my quilt should look.  I've always been quite a planner - you know, the kind of person who NEVER does the groceries without a list, and who will add things to a "To Do" list AFTER they've been done just for the pleasure of ticking them off.  You know the type, right?  Well, I like to plan my quilts too.  But, while I'm working things don't always go to plan...at the time, this usually causes me more than a little frustration, but in the end it usually works out better than I had imagined.

So, over the last few days I've been working on the Young Lad's quilt again.  If you have actually been following this much neglected blog, you will know that it's going to be a Four Seasons quilt; this is how it has looked for the past year and a half since I last blogged about it:


I'll forgive you for thinking it doesn't look like much of anything, and for wondering what I'be been doing all this time. The thing is, after I happily cut, carefully placed, and busily sewed all those pieces, I was admiring my handiwork, and suddenly realised that I had placed the pieces with the seasons going in the wrong direction! I'd meant for them to go anticlockwise, not clockwise! Now I would have to flip all my applique designs, or they would all be going in the wrong direction too!!  How could I have been so careless?

And my enthusiasm for the quilt flagged a little.  Which may have something to do with why it has been so long since I worked on it (has it REALLY been year and a half ?!) Also, in between times, I made the Young Lad a quiet book and a Christmas stocking, made this quilt:

(there was a little serendipity in this quilt too, which you can read about here)

earned a diploma, got a full-time job...


Anyway, back to the quilt.  The other day, I was fiddling round with my bit of pieced sky and planning all the applique that was to go round it, and I suddenly realised that I'd been going about my design all wrong. The Four Seasons trees I had planned to have on the sides actually needed to be in the corners, which meant that the applique designs wouldn't have to be flipped at all.  Now, instead of an applique border all the way round, which I didn't have enough designs to fill anyway, the corners will have a pieced background representing each of the seasons. I have now cut and pieced three of these blocks, and I am really happy with the way it is all coming together.  So here is

Spring:


Summer:


and Autumn:


Winter is yet to come.  I didn't have enough wintery fabric, so I'm back to hitting the shops. Interestingly though, one of my favourite winter fabrics is one that I actually wasn't sure if I should buy at all!  And that's quilting serendipity.


Tuesday 12 February 2013

Our Mosaic Pathway ~ Work in Progress ~ Part Two

We just finished off another section of our mosaic pathway, so I thought it was time for another update.  We had to take a bit of a break from it over the winter, although Mr K has added a few sections since I last blogged about it.


I thought today I would share a few do's and don'ts that we've learnt along the way.

DO plan your design before you begin.  Even if you want a random pattern, you need to know what you want and have everything ready to go.  Once that concrete is mixed, there's no time for mucking around.

DON'T use quick set concrete mix!!!

DO accept help to get all those pieces into place before the concrete sets.

DON'T forget to explain your design to your helper before you begin, especially if your design is supposed to be symmetrical!

DO check the weather forecast.

DON'T try this if it is too hot or too cold!  If it's too hot, your concrete will set faster than ever.  If it's too cold, your concrete won't set, and this is the result:


(Yes, I'm picking the bits out with a screwdriver, but only because I didn't want to get dirt under my nails!)

DO put all pets and toddlers somewhere where they will stay out of your hair!  Preferably in their hutches (that's for the rabbits) or down for a nap (that's for the toddlers).

DON'T use shells.  They will break.

DO use your favourite plates that got a chip.  All those special pieces of broken china will make your path all  the more wonderful.  If you are even thinking about maybe making a mosaic path "one day" start saving your broken china now!

DON'T be too ambitious with your design.

DO have fun!!


There you have it!  Do give it a try some time ^_^

Monday 4 February 2013

Quilting Tutorial 4 ~ Quilt backing from narrow fabric

Have you ever noticed that your finished quilt tops tend to be just that much wider than the backing fabric you want to buy?  When I first started quilting, I would have bought twice the length I needed so that I could add that narrow strip to make the backing wide enough.  But what do you know, you don't need to!

Here is a really clever trick for making wider quilt backings that save you fabric.

I just finished piecing a quilt for my husbands granddaughter.  I wanted to back it with a soft, cosy flannelette. As you can see, the flannelette is not quite wide enough.


In fact, the quilt is about 115cm square, the flannelette is about 110cm wide, and I only bought 1.5m, not 2.5m like I would have done in the past.  How could that be enough fabric??  I hear you ask.  Well, here's the trick...

So this is what you do:  Fold your fabric on a diagonal from top to bottom, and finger press to mark the crease.

Mark the crease


Unfold the fabric, and cut along the crease.

Cut the fabric


Slide one piece down until you have the width you need (remember to allow for the width of the seam), then stitch and press the seam open.

Remember to check the length before stitching!


And there you have it!  A backing wide enough for your quilt from a fraction of the fabric!  


Here's my quilt, sandwiched ready for quilting
(sorry about the blurry picture)


The finished width of my backing piece is about 118 cm, which is admittedly about the barest minimum, and I couldn't make it any wider or it would have been too short.  I perhaps could have done with a smidgen more fabric, but it worked out OK in the end.  There's probably some formula for working out how much fabric you actually need to make this work...but I'm not that mathematically minded!  


Monday 28 January 2013

Puppy Cake

We've had a busy weekend here in the BK house.  It was Miss Missy's birthday (10.  Double figures! My how the time flies!) on Thursday, so we had a party on Saturday and I made a puppy cake.


As usual, my plans got more elaborate the more I thought about it, and they did have to get scaled back a bit when I ran out of time and energy (and also realised that some of my plans simply wouldn't fit!) but I'm very happy with the final result!

I've made a few cakes now with fondant figures, and it's lots of fun making them!  The shop I had been buying my supplies from has closed down, so I ended up using Pettinice icing which you can buy at supermarkets. I was a little nervous about using this, as my first ever attempt at cake decorating had been with that brand of fondant, and it was a complete disaster!!  I now realise that it was the food colouring that was at fault, not the icing.  Word to the wise: don't try to colour fondant with ordinary old food colouring!  It simply will not work.  You have to use gel icing colours.

I based the puppies loosely on a design from this book by Debbie Brown.  The instructions were really good and easy to follow, even though I didn't really follow them exactly!


 The flowers are cut with a plunge cutter, which is a real cinch, but I didn't want to spend all the time rolling individual centres for each flower like I did last time I made icing flowers.  I had a great idea which made the process so much quicker and easier!  I cut the centres with the end of a round piping tip and then used a skewer to pop them out and into place in one step.  It worked a treat! 

Miss Missy said the dogs were "epic" ~ high praise from a tweenie!!


Monday 21 January 2013

Quilting Tutorial 3 ~ Adding a quilt border with mitred corners

A while ago I shared s couple of tutorials on cutting and piecing patchwork quilts.  Today I'm going to carry on with some tips on adding borders to your quilt.

A quilt border is a bit like a frame for a painting.  It makes your quilt look finished, and can add emphasis and definition to your design.  There are three basic styles of quilt borders (not including pieced borders which can be in as many different designs as quilts themselves).

The simplest border is made by adding long strips to all four sides, like this:


Or, you can add squares in the corners, like this:

Or you can mitre the corners, like this:  

This method is trickier than the others, but it looks great, especially if the fabric you have chosen is striped.

First, cut your border pieces.  They need to be a little longer than the width of your quilt top plus twice the width of your border.


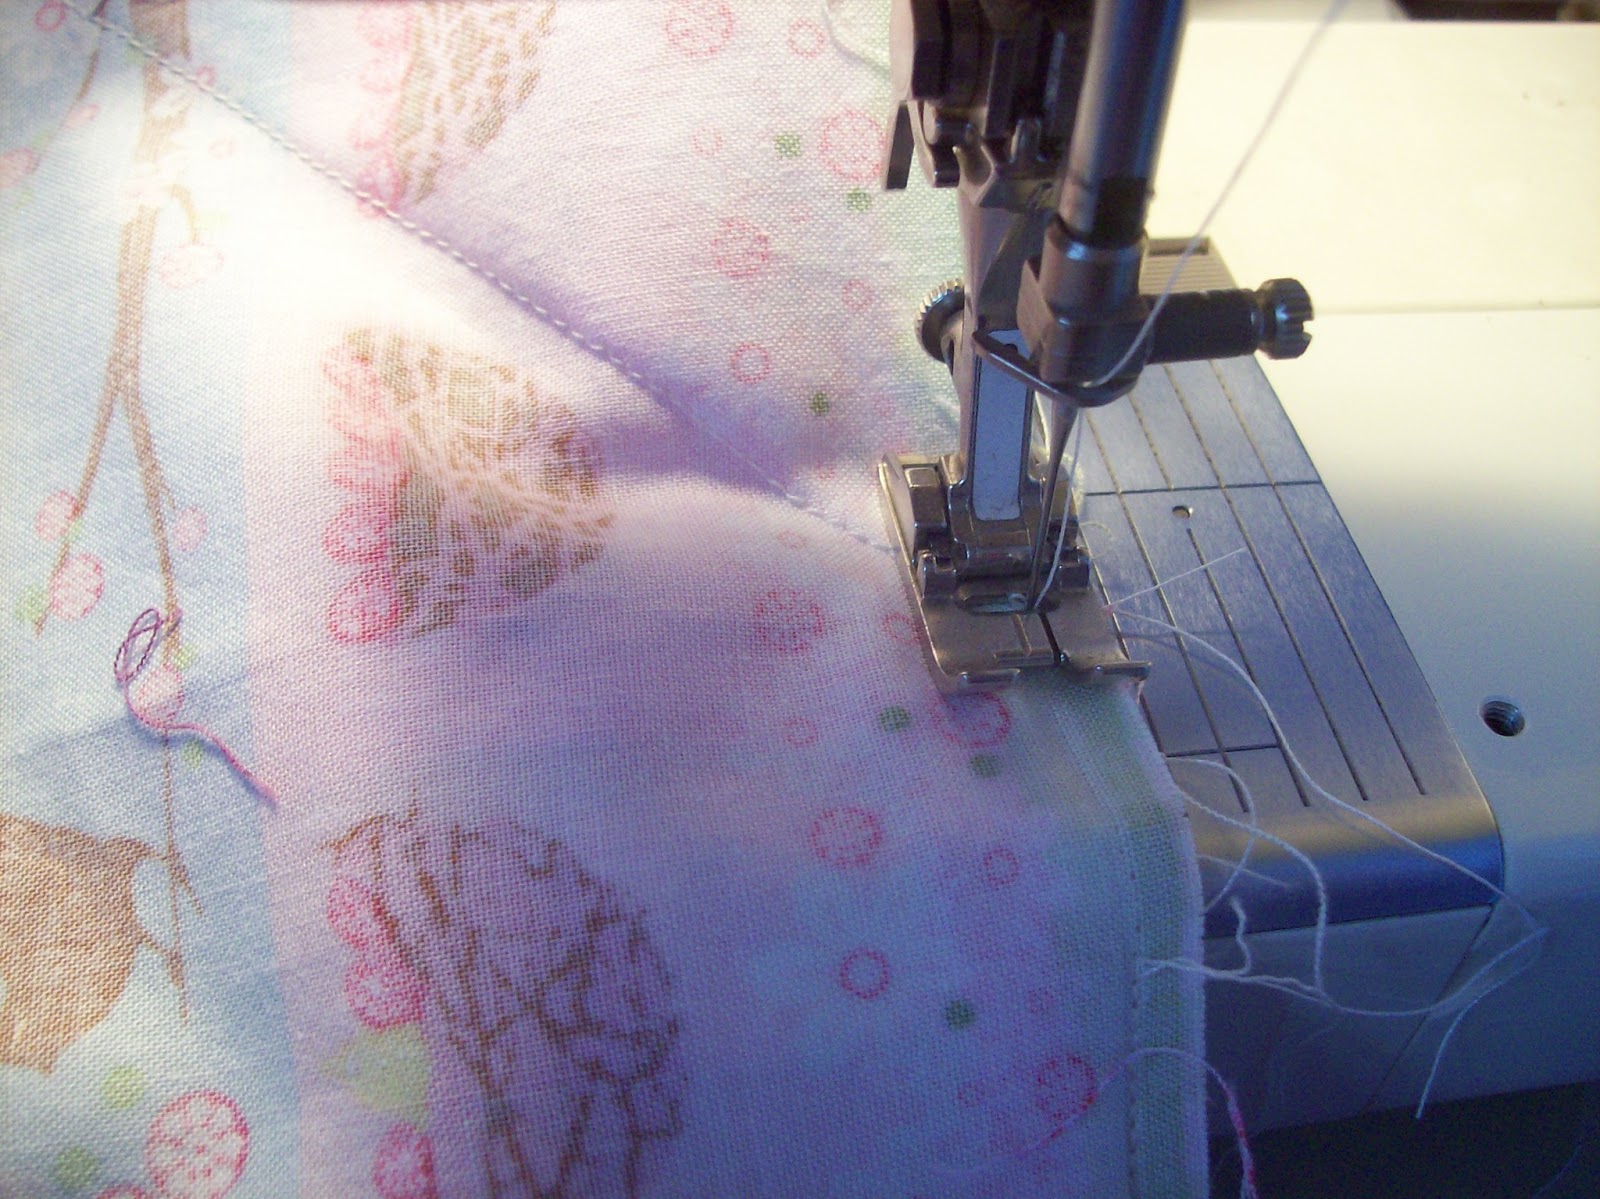
Join the border pieces to each side of the quilt top, matching the centres of the quilt and border pieces.  Stop stitching a few centimetres from the corner, like this:


On both sides, pin border pieces to quilt exactly along the stitching line to the corner.


Press the border pieces outwards, then fold one piece along the diagonal from inner corner to outer corner.


If your fabric has a directional design, now is the time to check that the design is lining up nicely.  (As you can see, my border pieces are a little short.  I'll explain later how I dealt with that.)


Press the crease, then use masking tape to hold the border pieces securely in place.


Do not remove the masking tape.  Remove the pins, and pull the quilt top away so you don't accidentally catch it in the seam. Open out the creased border piece so that you can stitch the seam (the masking tape will now be folded in its place between the two pieces of fabric).  Beginning at the intersection between the crease and the seam line of the long edge of the border piece, stitch the border pieces together along the crease.  Try to keep the stitching exactly on the crease to avoid stitching in the masking tape, but don't worry if you catch it in a little.  Remove the masking tape (if you've accidentally stitched it, you should be able to pull it away easily because it will have been perforated, just make sure you get it all out, you may need to pull some out from the wrong side).  Press seam.


Start stitching at the arrow

Now join the border pieces to the quilt at the corners.  First you will join border piece 1 to the quilt, stitching from point A to point B, then you will join border piece 2 to the quilt stitching from point B to point C.  I hope this picture helps to make that clear.  (Clear as mud?)


Matching raw edges, stitch the remainder of the border/quilt seam to the corner of the quilt (stitching piece 1 from A to B).  Stop stitching right at the point where the corner border seam starts (point B).  This will line up with the corner seam-line of your quilt.

Stop stitching at arrow

Now, beginning stitching at the corner seam (point B), and matching raw edges, stitch the other border piece to the quilt (stitch border piece 2 from point B to point C).


Trim away the excess fabric at the corner.


And finally, press the border.


And now repeat for the remaining three corners.  And there you have it, a quilt border with mitred corners.


I started this quilt project a while ago (OK, it was over a year ago.  Ahem, make that nearly two years!) and because the fabric I chose for the borders has a directional design, I knew I wanted to mitre the corners.  I think mitred corners look much classier, especially when the border fabric is striped.  But I never worked out how wide my quilt was going to be and checked that I would actually have enough fabric!  Once I finished piecing the top, I realised that the fabric wasn't actually wide enough to do it.  I didn't have any of that extra length that I told you you needed right at the start.  You may have noticed in the photographs that my corner seams stopped a little short.  The quilt sat in my sewing room for months while I debated with myself how I was going to finish it off.  Should I mitre the corners but cut narrower borders so it would fit, cutting off some of that beautiful design?  Put a square in each corner instead of mitring them?  Or add a tiny bit of fabric to each corner?  But if I did that, what fabric would I use?  I didn't have anything that matched!  Oh, what a dilemma!!

Once I finally decided to just finish the darn thing and work it out, it was just serendipitous!  I decided that I was going to mitre it come what may, and as I cut off the triangle of excess fabric at the first corner, I realised that these off cuts would work perfectly to complete the corners.  Hurray!

Once the borders are on, it will look great!

I just wish I'd figured it out sooner, so that Grand-baby number two got it in time for her arrival, not at 1-and-a-half!  (Heck, I haven't even finished it yet, let's hope she gets it before her second birthday!!)


Monday 14 January 2013

The stockings were hung by the chimney with care...

It's been ages since I posted (I hope none of you were holding your breath!) but that doesn't mean I haven't been busy crafting!  In fact, I've managed to get quite a lot done on several projects, not to mention writing numerous assignments for my diploma, and starting a new job.  Phew!  I have been busy.

The first project I finished was a Christmas stocking for the Young Lad.  I started this before last Christmas, but didn't get it finished, partly because I wasn't quite happy with the embellishments that I had bought.  I am pleased to say that it was finished in plenty of time for Santa to fill it up!


First of all, I wasn't happy with the star that I bought last year, because the only one I could find that looked remotely like what I had in mind had a loop for stitching at the top, and it was a little small for my tree.  Then one day I was at one of my favourite craft shops, looking for something entirely different, and I found these lovely star buttons.  I couldn't make up my mind whether to buy the natural wood one, which was just the right size, or the gold one, which was a little small, but shiny, which a Christmas star really ought to be...


In the end, I bought both, and stitched them on one on top of the other!  I rather like the way it looks! 


The other thing I wasn't happy with was the decorations for the tree that I found while we were on holiday, at another great craft shop.  Although they were very cute, I didn't like the way the shank on the back of the snowflakes and gingerbread-men made them sit.


After pondering about this for a while, I decided to just cut them off, they were just plastic after all!


This was very easily achieved!  I just used a pair of nail clippers, which allowed me to cut the shanks off flush with the back of the decorations.


Then I had to figure out how I would attach them.  The gingerbread-men had little dots for buttons, so I used these as placement marks, and then stuck a drawing pin in them to make holes.  This was surprisingly easy.  


I then checked that I could fit a needle through the hole, and there were my gingerbread-men, ready to go.  I didn't need to make holes in the snowflakes, as the snowflake design had holes in it anyway which I could easily use to stitch them on.


And there you have it.  The Young Lad was very happy with it, and he asked Santa to put a rubbish truck, Superman, and some chocolate in it!