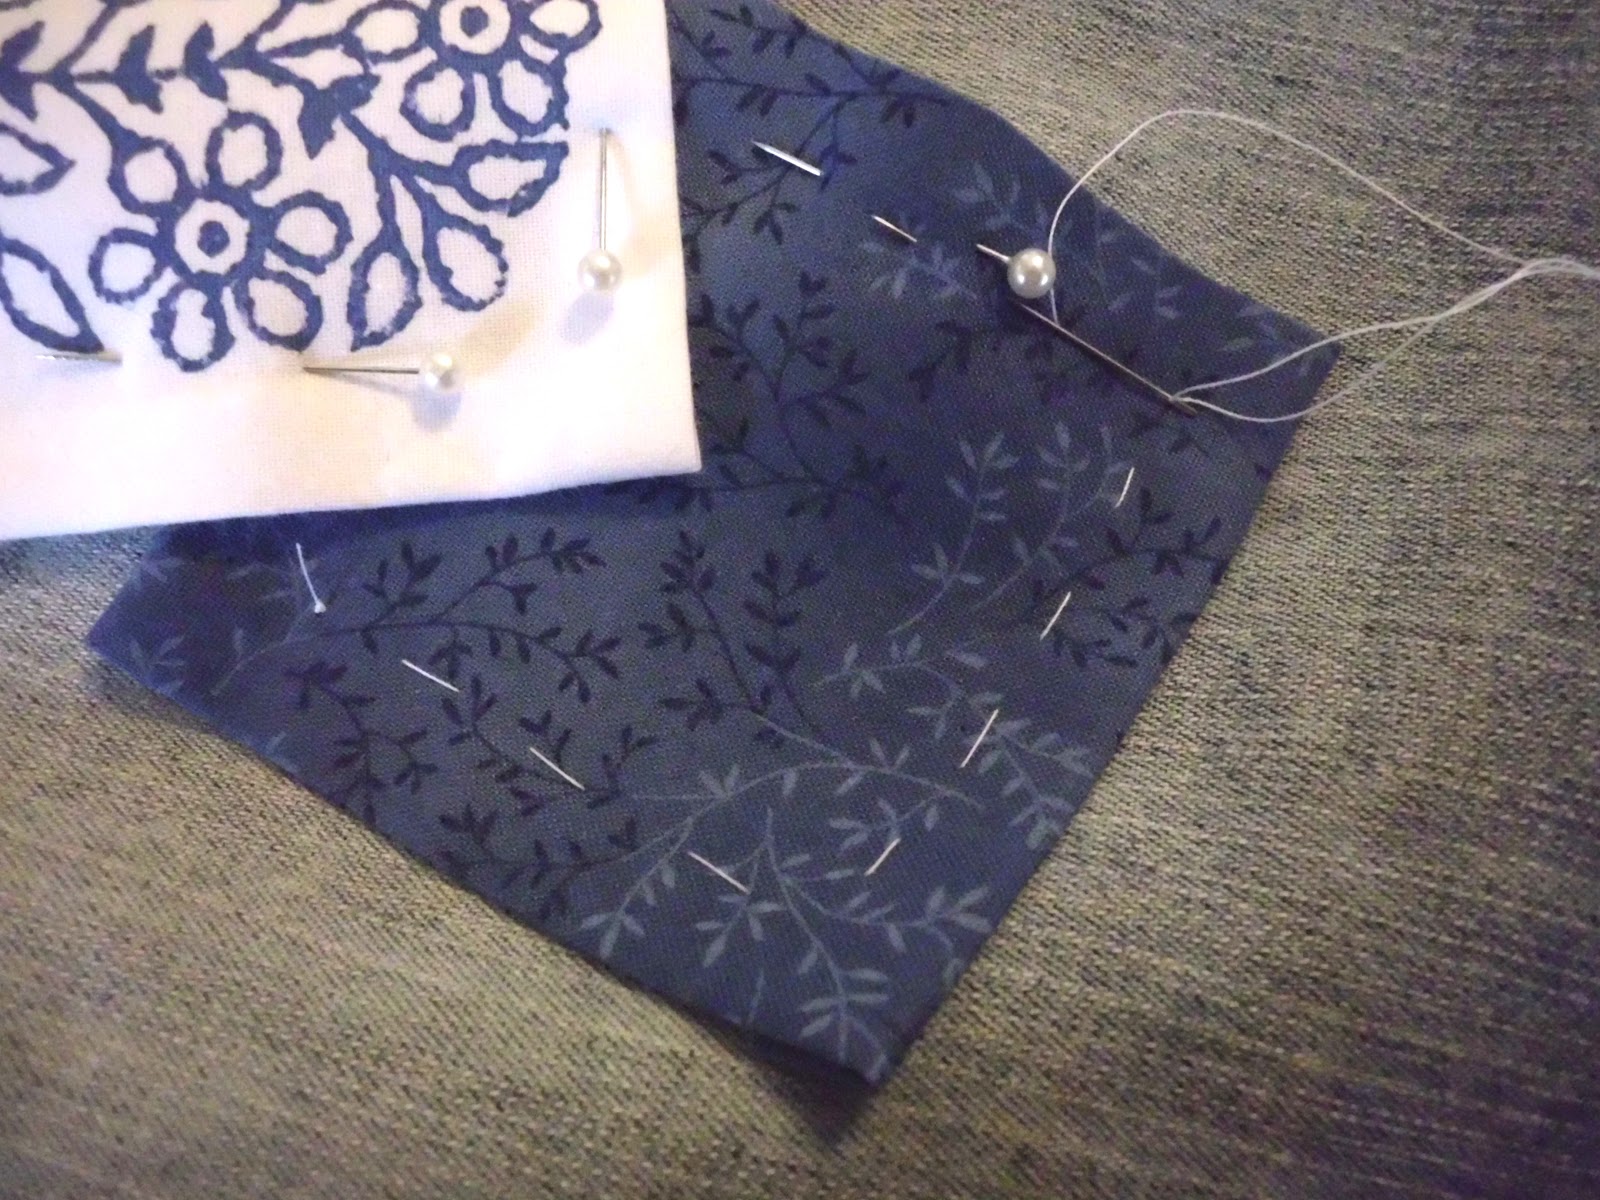
'Fifty Shades of Grey' by bkcraftsandkeystones
A little collection of shades of grey, just for fun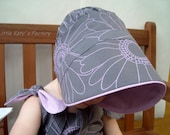 Baby sun hat Purple Gre...
$30.00
| 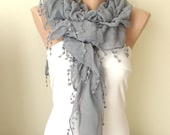 Spring Model Gray Ruffl...
$19.00
| 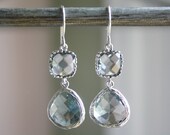 Dangle Earrings - Gray ...
$30.00
| 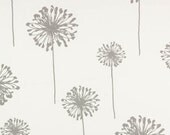 TABLE RUNNER DANDELIONS...
$19.00
|
 Grey Flower Girl tutu a...
$120.00
| 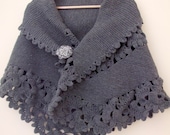 Beautiful Triangle Dark...
$115.00
| 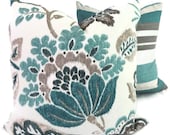 Turquoise, Teal and Gra...
$46.00
|  Grey Granny Goodness Bl...
$7.00
|
 Baby Pink & Gray Bonnet
$15.00
| 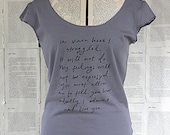 Mr. Darcy Proposal grey...
$22.00
| 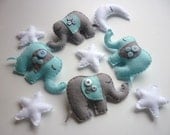 Dreamtime Baby Elephant...
$79.00
|  Pillow Covers TWO 16 in...
$26.00
|
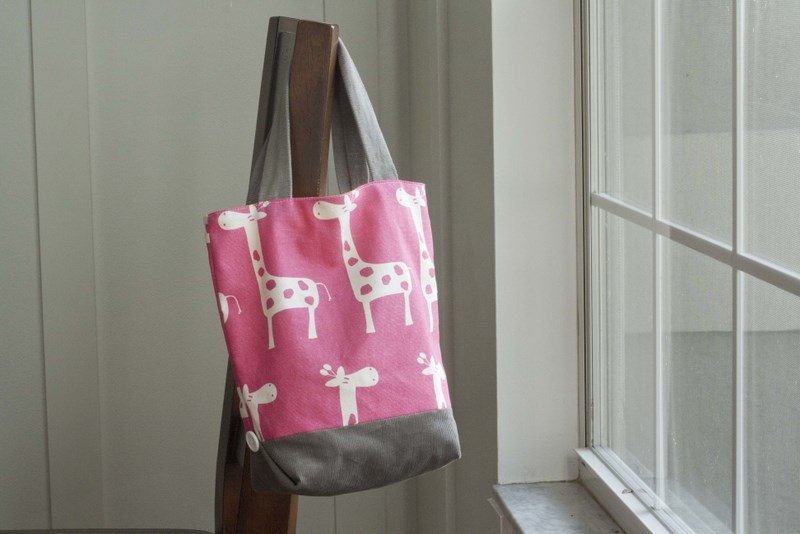 Giraffe Mini Button Tot...
$15.00
| 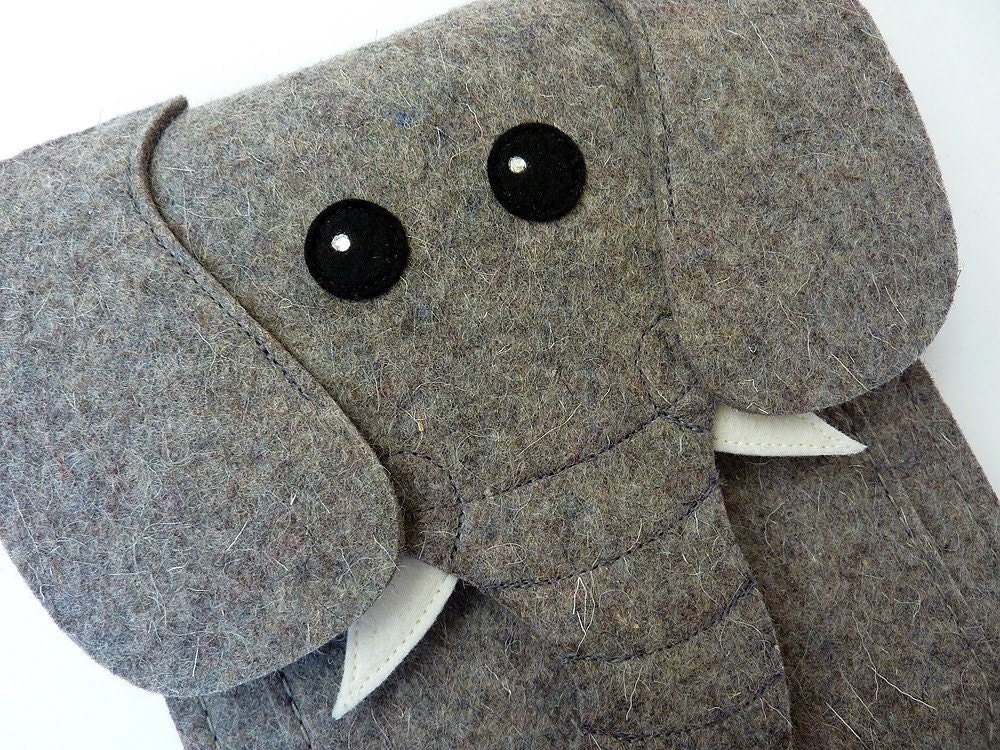 Elephant Kindle 4 sleev...
$52.00
| 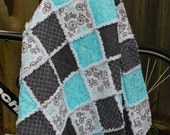 Bicycle Bike Rag Quilt ...
$110.00
| 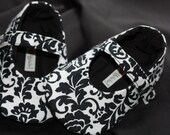 Black and white Damask ...
$18.00
|
Treasury tool supported by the dog house
Of course, I couldn't actually do 50, since Etsy Treasuries only have 16 items, but I had fun, and I have to say, I think I found some really lovely things, and gained a new appreciation for the colour grey ^_^