To make Bronwen's Super-duper Jean Patches you will need:
- jeans that need patching (you probably figured that one out already ^_^)
- funky fabric for the patches (I like to use quilting or craft fabrics)
- a bit of fusible interfacing
- colour co-ordinating thread
- a pair of scissors, a tape measure, and pins
- and of course a sewing machine

One of the fabrics I chose is a beautiful hand-stamped piece, made specially for me by the talented Nicola of Coulter and Coulter. My plan for that fabric is to make a couple of log cabin patchwork cushions for my sewing room...but I need more fabric before I can start that project, and I figured I could spare one motif to make a patch. I decided to use the light blue, perhaps I'll use the dark blue for the next patch (the other leg is getting a bit thin already)

I cut two squares 10cm by 10cm (4" x 4") then turned under 1cm on all sides, and pressed well.

I like to turn under the edges of my patches as this gives a neat tidy finish, and ensures that the fabric doesn't pull away from the stitching with wear. Next, cut a piece of interfacing a little smaller than your square. Fuse in place, using the interfacing to hold the folded edges in place. I use the interfacing not only to hold the edges, but also to strengthen the fabric, as quilting fabric isn't as robust as denim.

Do the same with the other patch.

Now place the patches over the hole, arrange in a pleasing way, and pin in place. I am patching just one hole with my two patches, but I prefer the look of a few patches to just one lonely old patch. Somehow having more than one patch takes it from repair to fashion statement. Remember that the pins, and your stitching too, will just go through one layer of your jeans...you don't want to inadvertently stitch the leg of your jeans together!

The next thing you need to do is hand tack the patches in place. I'm not big on tacking, I hardly ever tack things if I can help it. In fact, I'm not big on pinning either. But you really do need to tack the patches in place. Just use a big running stitch right round the edge.
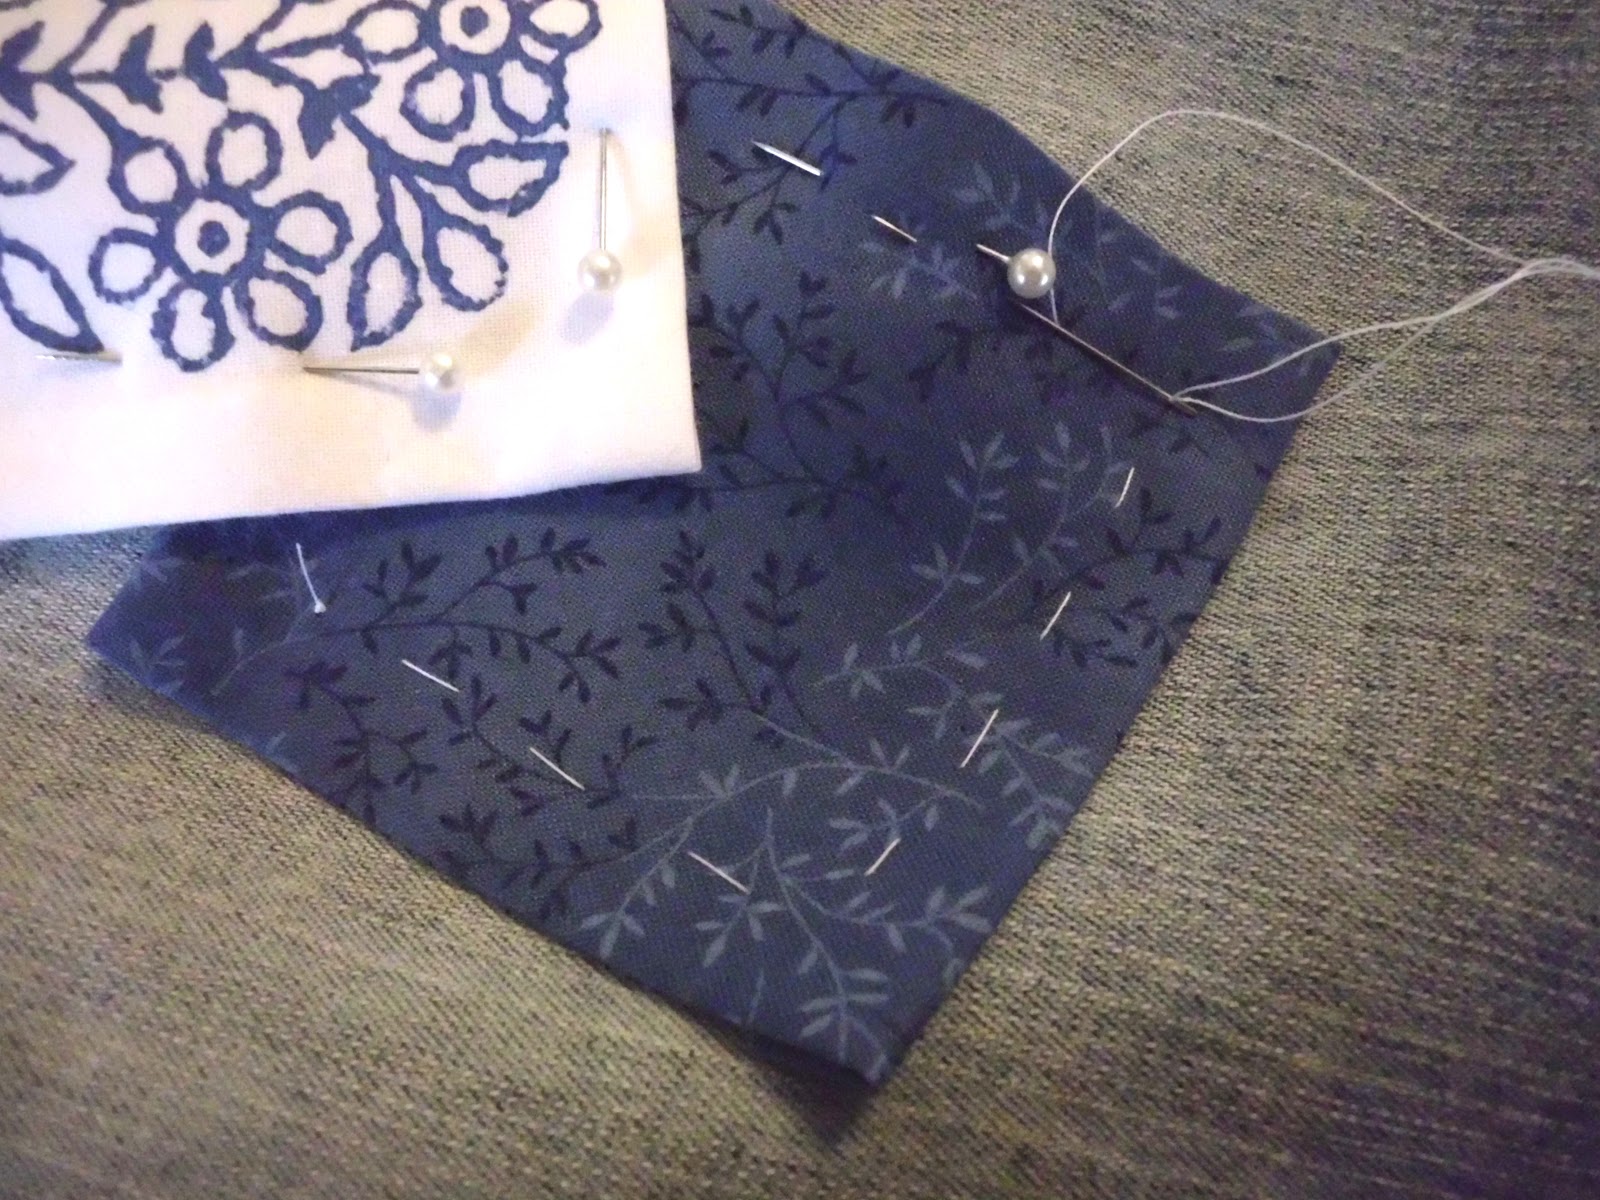
Note how I've tacked it well away from the edge. This makes it easier to remove your tacking stitches once you're finished, and also means that you can flip the top patch out of the way so that you can stitch the bottom patch, like this:

If your sewing machine has a free arm option, now it the time to use it. Set the machine to zig-zag, and starting with the bottom patch, stitch all the way around both patches, taking care at the corner to have your needle on the right-hand side of the zig-zag before you turn your work. This makes the corner look neat and tidy.

This step can be a bit awkward, because you have so many corners to go round, and the leg of the jeans can get sort of tangled up round the sewing machine, but that's why we tacked the patches in place. Just make sure that the seam you are working on is smooth, and don't worry too much about the rest of it. If your patches are anywhere near the front pocket, remember to move the pocket lining out of the way, you don't want to inadvertently stitch your pocket closed any more than you want to stitch your leg shut! >_<

And there we have it! All you need to do now is pull the threads through to the back and tie them off, and unpick the tacking stitches, and you're all done. And here is a very low-tech self-portrait of me in my newly patched old jeans!

No comments:
Post a Comment
Thank-you so much for taking the time to comment, I love reading them all!